When I moved into Fred's place,
sight-unseen, mind you, I was tickled and astounded to discover the
back yard, which extends into a natural park area hosting Stephen's
Creek. The place screamed, “Work with me! I have SO much potential
for infinite beauty!” I felt I had moved into a place not unlike
“The Secret Garden,” which I am 2/3rds into watching
with my sweetheart, actually. We're watching the vintage (original?)
English version and Aeython finds it to be incredibly dry, slow and
predictable, but it's the principle of the thing. A classic worth
revisiting in my own personal opinion.
 |
| Sproutling baby choys rising their wee, green heads from the mushroom compost! |
But back to the garden! The house is
perched up near the top of the hill and out back, there are tiered
garden beds of various sizes and lengths, created a bit haphazardly
with some rocky chunks of broken up concrete. It's clear to me now
that the previous owner's M.O. was based on economy, practicality and
little to no maintenance required, whatsoever. As we begin to clear
spaces for growing food, this becomes more and more readily apparent
with our succession of discoveries. There have been a few pleasant
surprises, however. Aeython has revealed many of these special finds,
which include:
a “throne” seat made from some
large, smooth concrete slabs, tucked into a nook on the lower-most
tier, which faces out toward the rest of the garden and park, a set
of small, gradual steps leading to a tier that was previously not
very accessible by comfortable means, which had been shrouded in a
flowering ground-cover, a bumblebee's nest tucked into the concrete
chunks on a tier equally engulfed in ivy, as well as a garter snake's
den in a similar fashion on an opposite tier.
 |
| A view of our house from below. Aeython chopped an invasive tree that grew up beneath the shed. Now that it's all exposed, I'm planning to make some Mason Bee houses using cut bamboo tubes and mount them onto the beams below, offering them a nice sheltered spot. :D |
The name for this blog came to me while
trying to rip out a nasty, black, plastic weed-block cloth, which has
long since failed to serve its purpose. It was a typical, overcast
and drizzly day in Portland and my attempts were centered around
clearing an area to create the bee yard. Knowing that the weeds will
only grow taller with every passing day, I couldn't very well just
leave it as is, blocking the entrances to my future hives. As well,
we're trying to utilize every possible space for growing food or bee
forage and the weed-block absolutely, HAD TO GO!
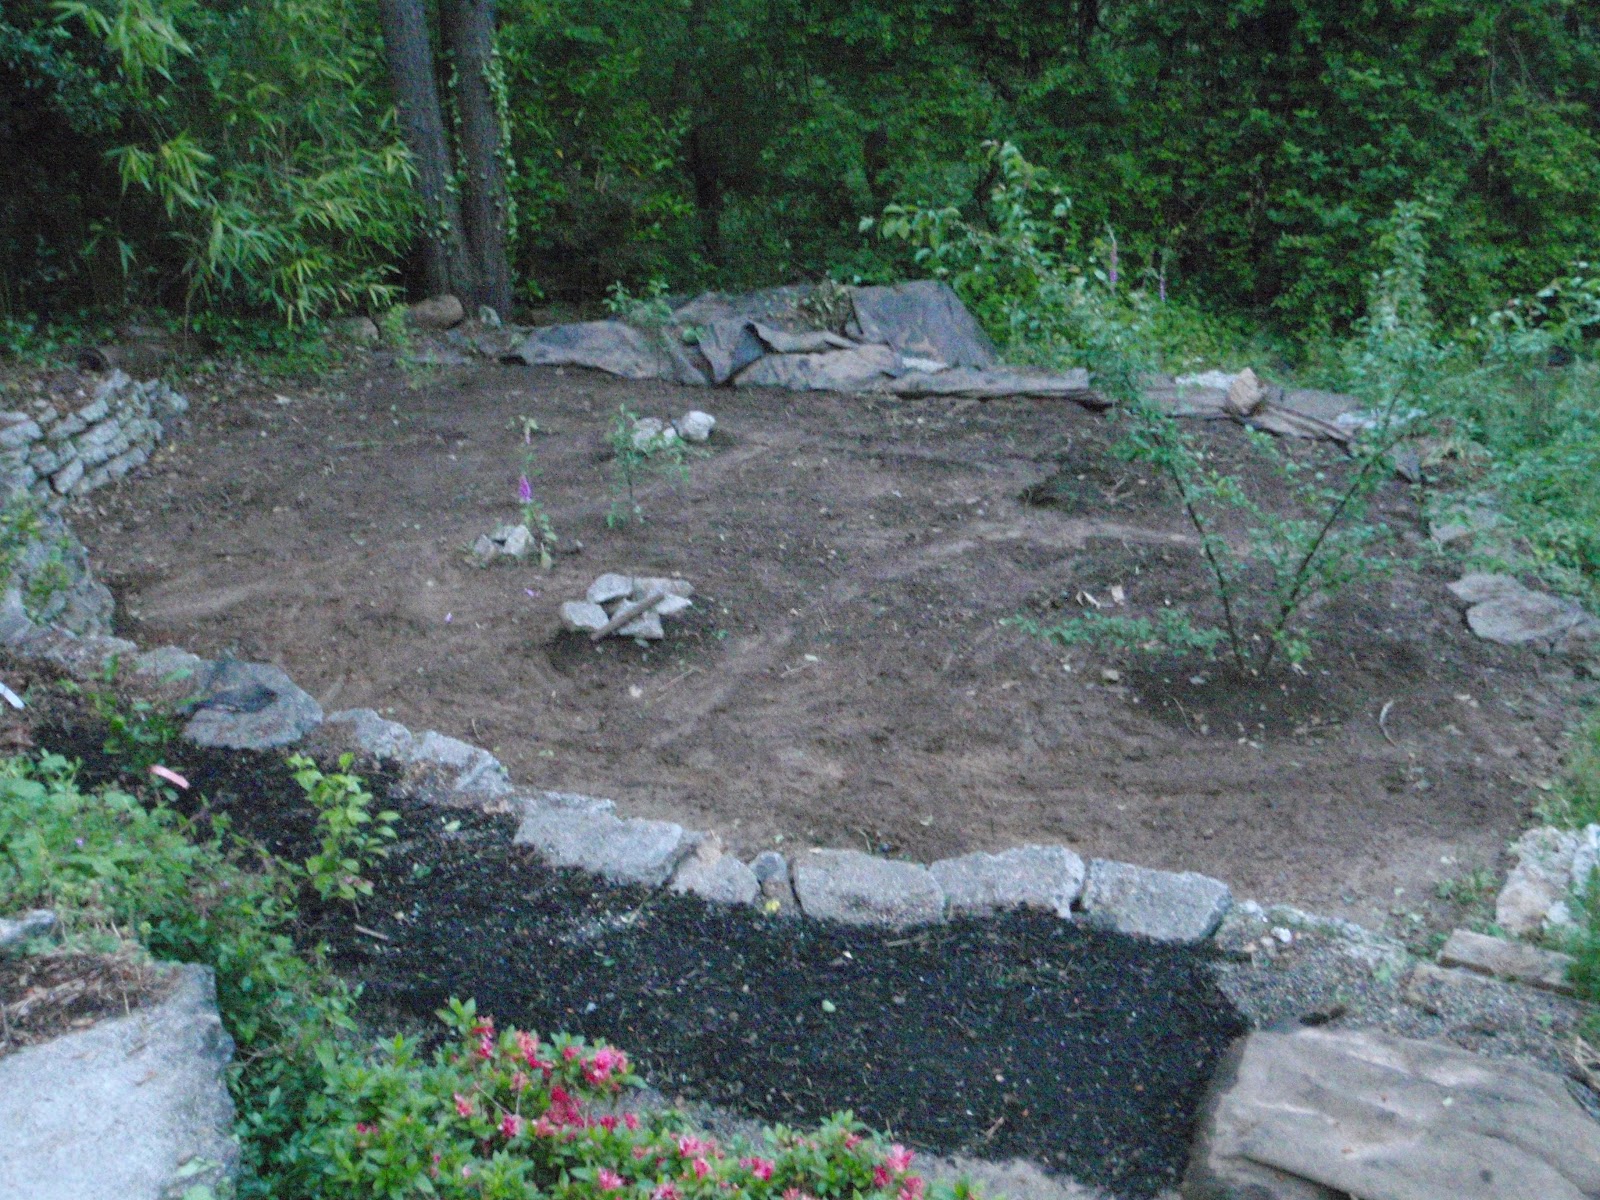 |
| The cleared tier from above. The throne is situated just to the left of the bamboo in the corner. The dark, mulched blueberry, tea and flower tier leads to the beehive against the Doug Fir. |
This was no easy task, as plenty of
soil had spilled into that lower-most tier, providing a growing
medium for the abundance of weeds. Their root systems were developed,
growing down and gripping onto the weed-block with ferocity. Worst of
all, was that the previous owners had embedded the cloth beneath the
concrete slab walls of the tiers. I employed scissors, I ripped, I
tore, I pulled and pulled with all my might, hoping I wouldn't tear
myself in the process and created a weed sod sculpture or abominable "weed man" by stacking the stuff higher and higher along one corner of
the tier.
Beneath all this, was free and clear,
very compacted, nutrient and moisture deficient soil. The only
aeration being offered was by tunnels bored into it (somehow) by
moles or shrews. But the dirt had finally been liberated! After Gawd
only knows how many years!!! Success!
This process did not take me a day,
however, it spanned the length of several days, with days in between
to heal my general aches and overly worked hands. It was an annoying
task, but one with near immediate gratification and immense eventual
payoff. Aeython has helped clear other areas and suggested we use the
weed-block to drape over our weed sod piles to cook it down into a
rich compost.
Some of it is also covering areas of
grass, which we hope to stamp out for more crops.
 |
| Repurposing the weed-block to kill itchy, weed-infested grass for more growing space. We plan to utilize the large tree stump there for a mushroom cultivation project by drilling holes into it and impregnating it with some spores in a sterilized substrate such as alfalfa straw. I'm growing my own culinary oyster mushrooms now from a large ziplock baggie on a plate up on the balcony. We've gotten two full fruitings from it since I took the class at People's Food Co-op in March, adding a lovely taste and texture to our delicious sautées. |
The next step for this large tier in
question, was to till it somehow, so he had Fred help him with the
use of a certain hand-held rototilling machine, powered by an unknown
gas mixture, which apparently is very loud, difficult to use and
probably only loosened up the top few inches of soil. But it's a
start, nonetheless, and will help us incorporate nutrients back into
the top layer, and allow us to plant some covercrops, namely
Buckwheat, Barley and Fenugreek.
Since the task is going to be a process
that takes time and care, and because I learned that bees prefer high
locations for their hives, I went with placing the first hive on the
next tier up. It is appropriately protected on at least 3 sides, by a
large Doug Fir tree, the neighbors' fence and the next tier up,
hosting a large yucca plant, one of 3 that we decided to leave in
place at the far end of the tier, even though it isn't native. Fred
built me a good, sturdy stand for the hive to be lifted at least a
foot off the ground, another bee-requisite.
 |
| A pic of the large, tilled tier from below. The little paths will be our walkways between garden beds. |
The frames were similarly glued and
nailed with smaller nails and once dry and complete, I snapped in the
foundation, a plastic sheet embossed with the hexagonal comb pattern
and coated with a thin layer of beeswax, indicating to the bees, draw
this comb out, please. The roof was a fun project as well, though
already pre-constructed.
I went with an eved, copper roof, not
only because it looks amazing and is a welcome addition to the
garden, resembling a quaint, little house rather than a flat-topped
box, but because in the Pacific Northwest, it rains, A LOT, and if
there's one thing that bees have trouble regulating it's moisture
within the hive. They have special tricks for cooling the hive if it
gets too hot by fanning their wings rapidly at the entrance, facing
in, butts high and drawing the warm air out. This process is also
employed as a way of reducing the water-content in the honey to make
it the perfect 17% water, allowing it to keep indefinitely and not
ferment. This takes a great deal of work on their parts, so the
higher, sloped roof adds more space at the top for air flow and
ventilation.
Fred was understandably worried about
copper being exposed to vagrants wandering through the park, who may
get the hair-brained idea of lifting it for some quick cash. I also
saw the problem this posed and did my best to reassure him that I
would take precautionary measures to deter theft, whether it be
signage indicating, “Bees at Work,” or heavy chains and locks all
the way around the hive. Another threat of the roof lifting off the
hive is posed by heavy winds, so rather than go crazy with more
metal, and necessity to use what I have, I opted for rachet-strapping
the whole thing to the hive stand. I have yet to install my other
precautionary measure of sledging two T-stakes into the ground on
either side, eliminating the risk of it toppling over.
The fun part of the endeavor was
painting the copper roof with Liver of Sulphur, a metal oxidizing
solution which I've used for years in jewelry making. I painted it
with some organic, abstract and not so abstract designs using a
potent batch of the stuff and it seems to disquise the copper a bit,
blending in a bit better with the surroundings. It also already
appears to be turning slightly greenish in places, a patina I have
always admired on copper.
I cleared the entire tier of weeds
leading to the hive, which is also home to two Blueberry bushes of
Fred's, two new Tea plants of Aeythons, our second, smaller Fuchsia
bush, which lives on an adorable “mini-tier” of its own, and
hopefully an abundance of various bee-loving flowers, which I planted
seeds for all over the place after spreading a layer of mushroom
mulch to revive the soil.
Now, I await my bees. But more on the
details of this exciting, swarm-collecting adventure soon!!!
 |
| Fledgling Quinoa sprouts we hope to grow from 6 cm to 6 ft! |
No comments:
Post a Comment